Defining your site in Dreamweaver
Step 1.
In Dreamweaver use the Site menu and select New Site
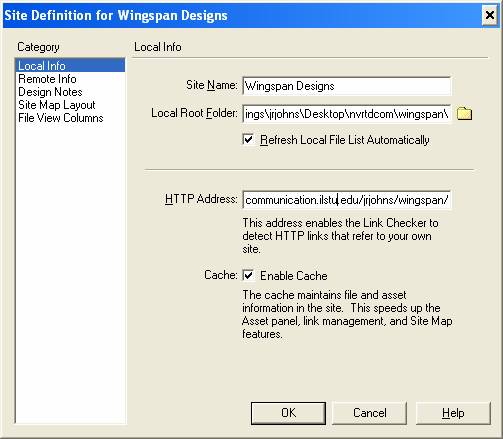
Step 2.
Name your site, choose your Local Root Folder, and if available
enter your HTTP Address.
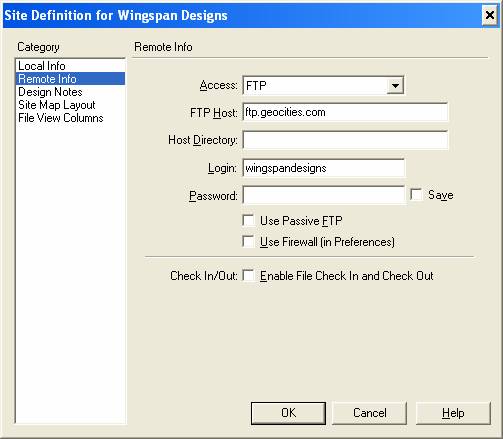
Step 3.
Enter your remote info here. This is how you connect with your
Web Server. FTP access to servers like Geocities (shown below)
is a common way to connect. Those logging into domains
(like ISUNET) may be using the Local/Network instead of FTP
access to connect to servers. If you don’t have Remote Access
you should still use Dreamweaver to manage your site
locally.
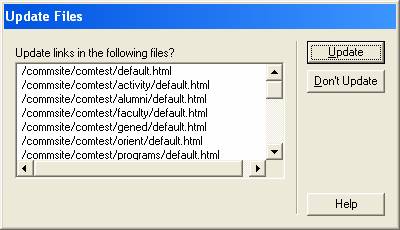
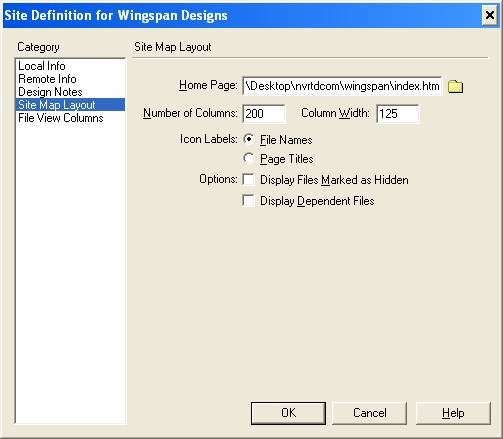
Step 4.
This step tells Dreamweaver where you want your
site to begin.
If you have a file called index (htm, html) in your
Root Folder
you can skip this step because the software will find your Home
Page automatically.
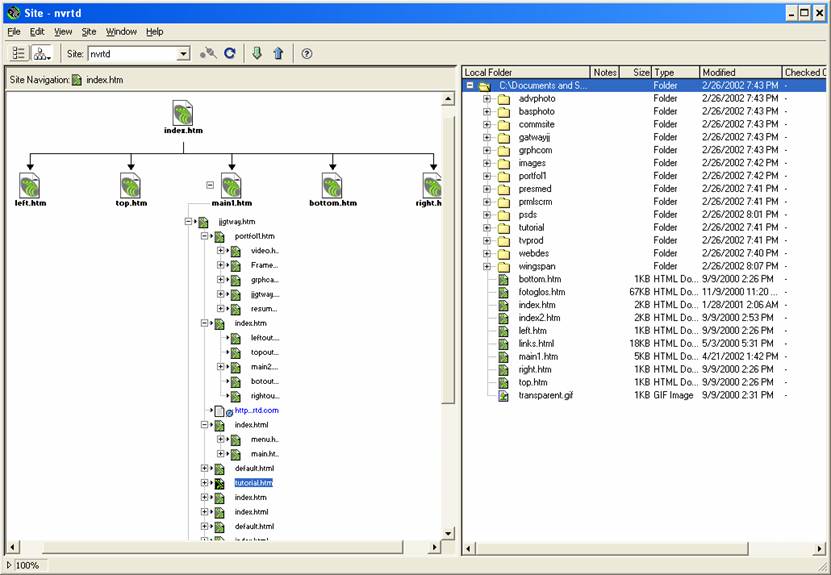
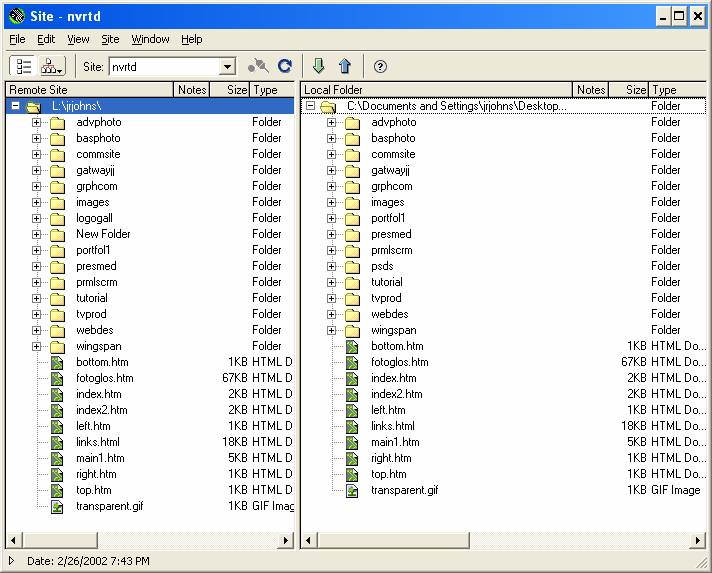
Step 5.
Now you will be able to use most of Dreamweaver’s
Site Definition abilities. Below is the site “nvrtd”.
The Local and
the Remote folders are currently identical. With the Site
window
open (seen below) you can Get (receive) or Put (send) files to
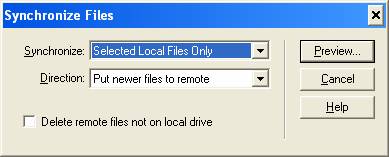
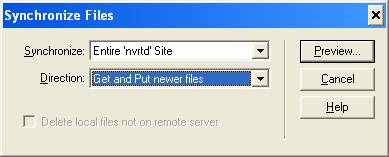
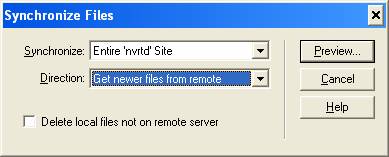
and from a server. You can also use the Site menu (in the main
program window on a Mac) to choose the Synchronize command.
The Synchronize tool is a powerful utility for site management.
Step 6.
Use the Site Map view (below, left) to help visualize and
navigate the site. Make all changes to folders and names
within this interface and Dreamweaver will update
broken links created.